Protecting an Excel sheet allows you to secure the contents of the sheet and control access to it. By protecting a sheet, you can prevent users from making unwanted changes, such as modifying formulas, deleting data, or altering the structure of the sheet.
Protect Sheet – Step by step guide
- Open the Excel workbook and navigate to the sheet you want to protect.
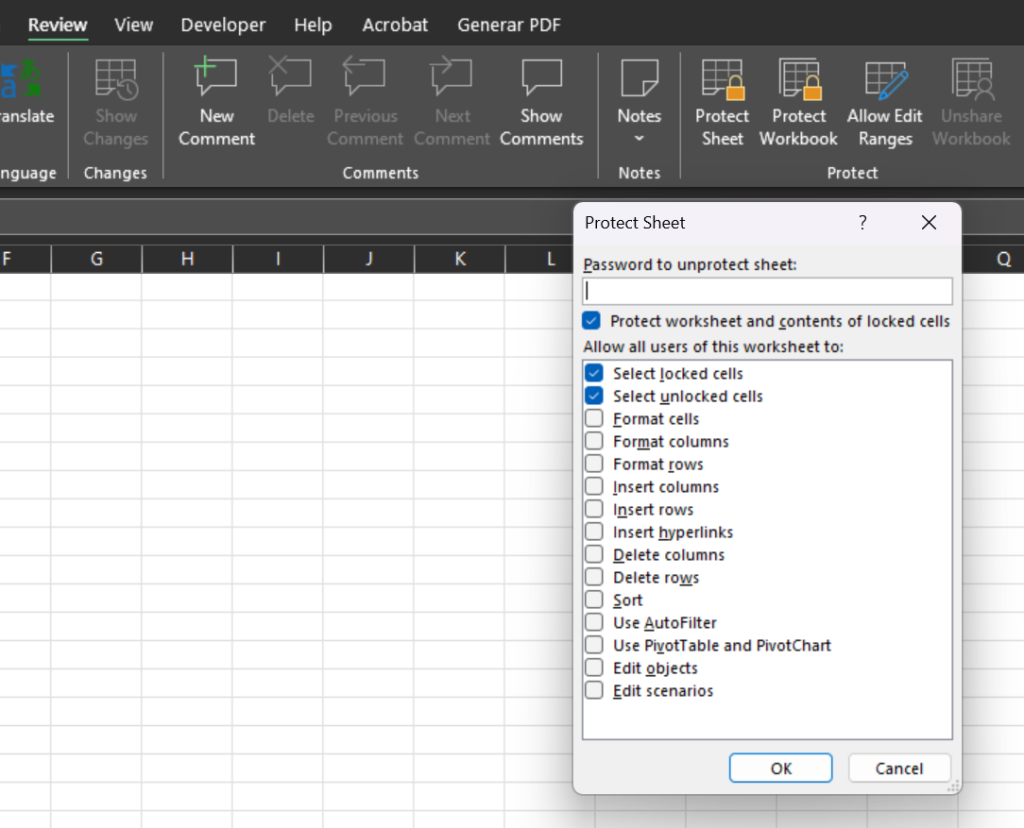
- Click on the “Review” tab located in the Excel ribbon at the top of the window.
- In the “Protect” group, click on the “Protect Sheet” button. The “Protect Sheet” dialog box will appear.
- In the “Protect Sheet” dialog box, you can set various protection options:
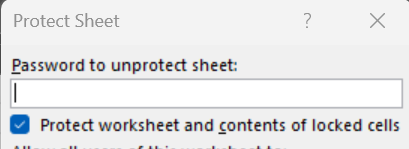
Password (optional)
If you want to require a password to unprotect the sheet, enter a password in the “Password” field. It’s recommended to use a strong password that is not easily guessable. Keep in mind that if you forget the password, it cannot be recovered.
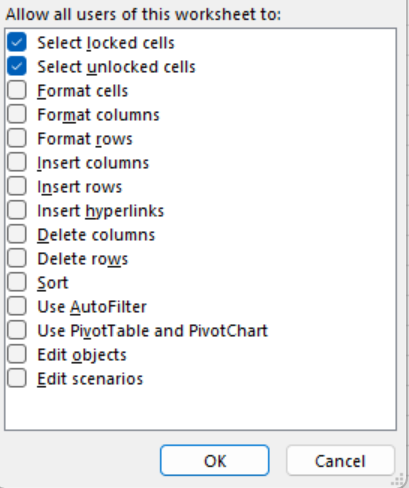
Actions to allow
By default, all the options are checked, meaning that users won’t be able to modify locked cells, format the sheet, insert/delete rows and columns, etc. Uncheck any actions you want to allow users to perform on the protected sheet.
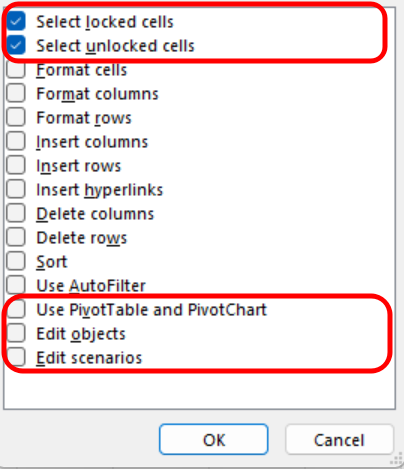
Options for objects
This section allows you to choose the protection settings for specific objects on the sheet, such as graphs, images, or specific cells. By default, “Select locked cells” and “Select unlocked cells” are checked. You can check or uncheck the other options based on your requirements.
- After setting the desired options, click the “OK” button to apply the protection to the sheet.
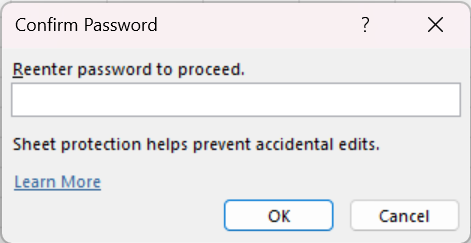
- If you set a password, you’ll be prompted to confirm it. Reenter the password and click “OK”.
- The sheet is now protected. Certain actions will be restricted based on the options you selected. The “Protect Sheet” button in the ribbon will change to “Unprotect Sheet” to allow you to remove the protection later if needed.
Unprotect Sheet – Step by step guide
- Open the Excel workbook and go to the protected sheet.
- Click on the “Review” tab in the Excel ribbon.
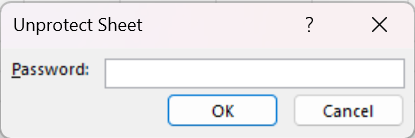
- In the “Protect” group, click on the “Unprotect Sheet” button. If the sheet has a password, you’ll be prompted to enter the password.
Once the sheet is unprotected, users will have full access to perform actions based on their permissions.
By following these steps, you can easily protect and unprotect Excel sheets to control access and prevent unauthorized modifications.
Switch the language
Unlock Your Potential
Help us grow the project
Related Posts